Are you wondering how to remove grout from your bathroom properly? Removing grout from your bathroom requires the right tools and techniques to ensure you do not damage your tiles and that you effectively prepare the surface for new grout. In wetrooms and bathrooms designed to allow more mobility and space, this step is even more important because damaged or deteriorating grout can quickly lead to leaks, mould, and slip hazards.
Whether you’re freshening up your space or tackling a bigger repair, grout removal is the foundation of a successful regrouting or tile replacement job.
Why Remove Bathroom Grout?
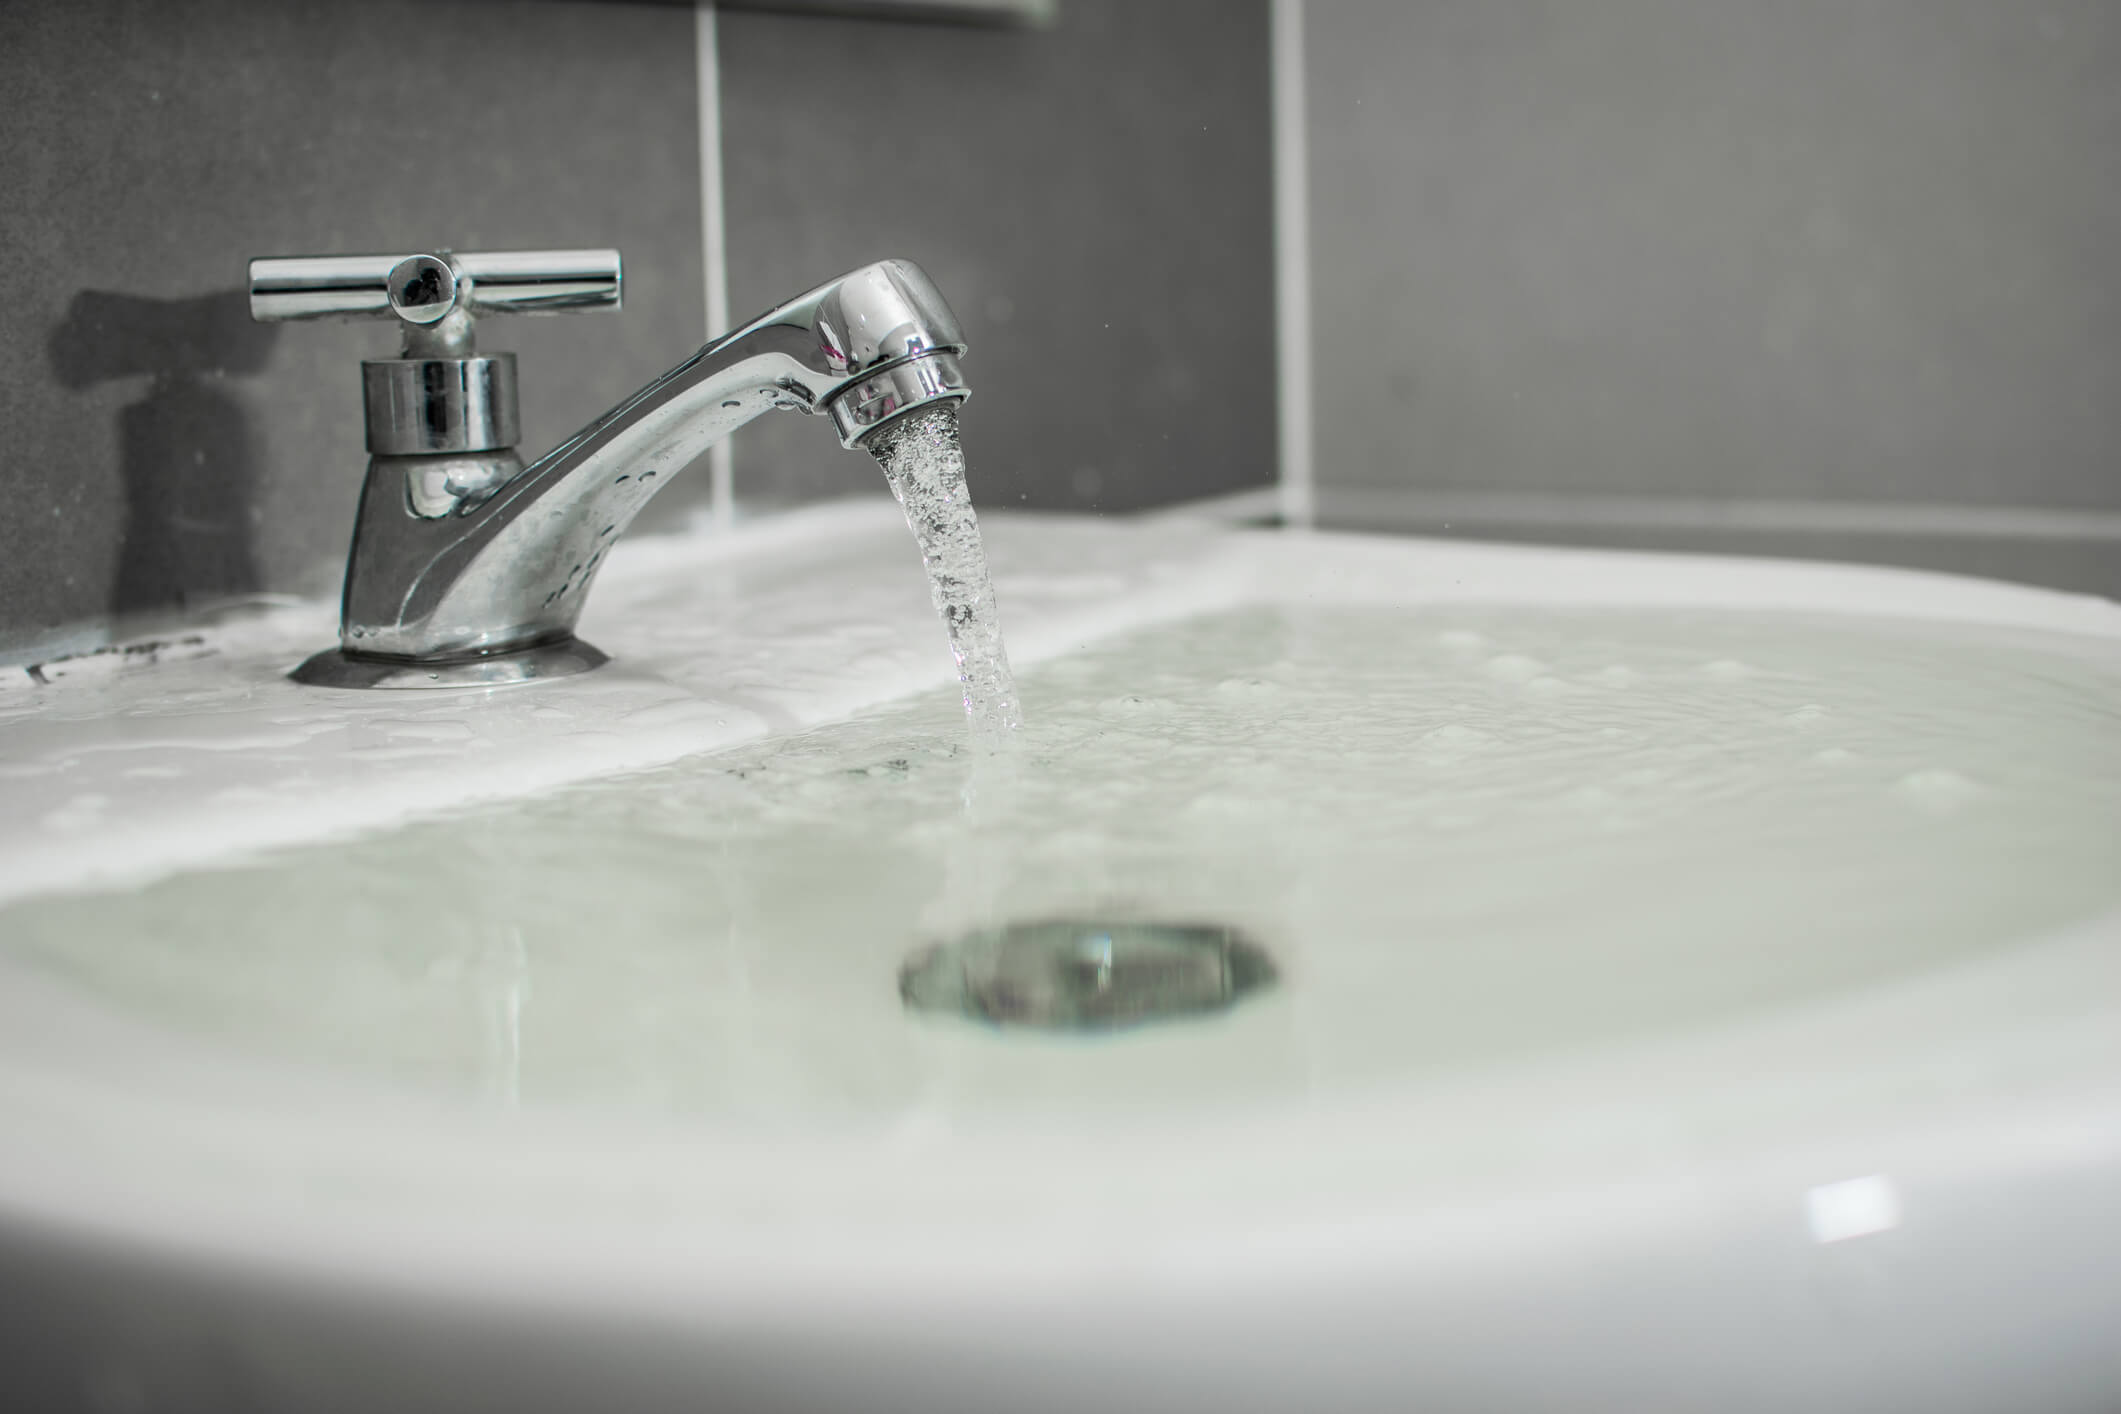
In your bathroom or wetroom, your grout is constantly exposed to moisture, temperature changes, and cleaning products. Over time, this climate can cause the grout to crack, loosen or develop mould that is basically impossible to clean. When grout is no longer effective, it means water can seep behind the tiles, causing damage to your walls or flooring beneath.
Not only can ineffective grout lead to floor and wall damage, but the grout can also become discoloured, which spoils the look of your bathroom and can also create uneven flooring and slippery surfaces, which is a massive concern in accessible bathrooms. Replacing your old grout is not just a cosmetic need; it is also an important maintenance task to keep your bathroom safe and functional.
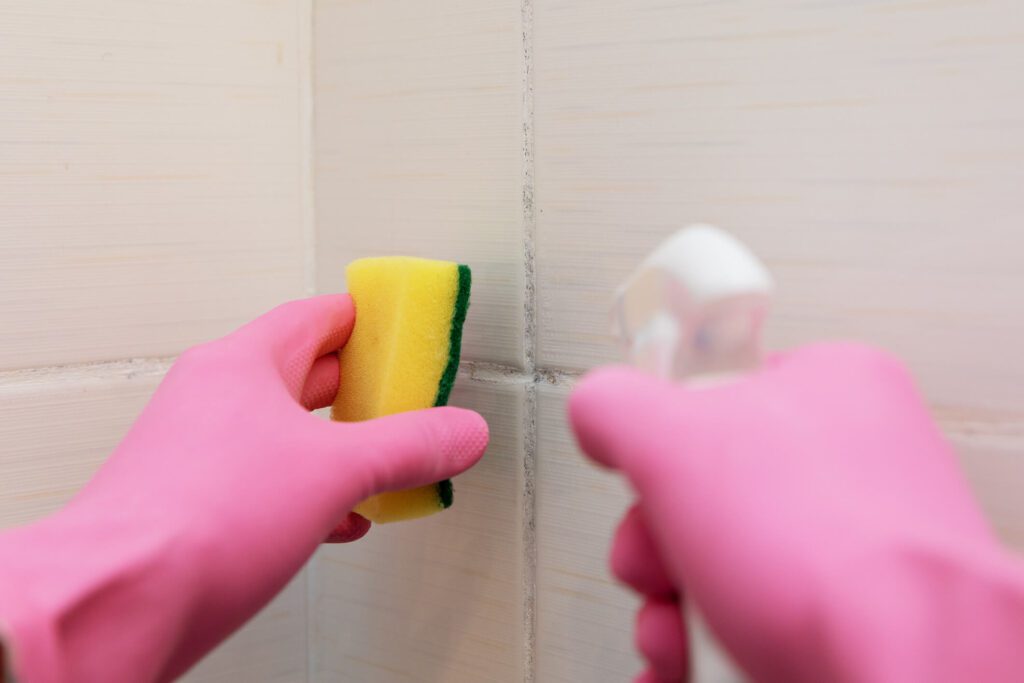
If you are seeing a buildup of mould in your bathroom, then this needs to be removed. Start by ensuring you have the right equipment: protective gloves and a mask. Start by spraying the affected areas with a mould-killing solution. We suggest a mix of bleach and water in a 1:3 ratio, or natural vinegar. Let this mixture sit for 10 minutes before scrubbing and rinsing.
Always make sure you ventilate the space well during this cleaning process. For a more detailed, step-by-step guide that includes how to replace mouldy sealant and mould-proof your bathroom for the future, check out our blog, How to get rid of mould in your bathroom in 3 quick and easy steps.
Tools & Materials You’ll Need
When planning how to remove grout, you need to check your equipment list. Having the right kit to remove the old grout from your bathroom is key to making the process as simple and easy as possible.
- Manual grout saw or scraper for careful hand work
- Oscillating multi-tool with a grout removal blade for speed
- Safety goggles, gloves, and a dust mask
- A vacuum or dustpan and brush to keep the work area clear
- Lay down old towels or sheets to protect grab rails, shower seats, and flooring from dust and debris.
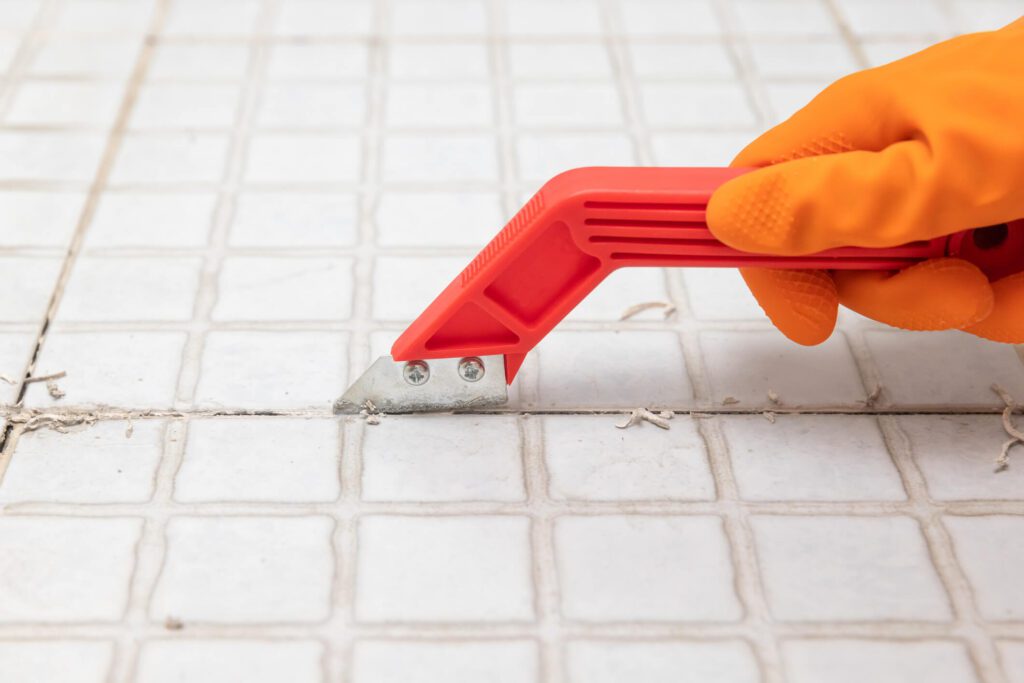
Removing Grout by Hand
Want to know how to remove old grout? There are a few different methods you can use when removing grout from your bathroom. Manual removal is the safest approach if your bathroom is small or if your tiles are delicate.
How to remove grout from tiles carefully
Hold your grout saw at a slight angle and work slowly, applying gentle pressure along the grout lines. Make sure you stop regularly to vacuum dust away so you can see your progress. A utility knife can also be used to help you get into corners and narrow spots.
While this process is more time-consuming than using power tools, you have access to additional control, which means there is less risk of damaging your tiles.
Removing Grout with a Power Tool
Power tools are a great asset to removing grout from your bathroom if you are working in a large wetroom floor or several walls. Fit your oscillating multi-tool with a diamond or carbide grout blade, work in short bursts, and let the tool do the work. Do not force it, as this may chip and damage the titles.
In mobility bathrooms, be careful around silicone seals and waterproofing edges. Damaging these can compromise the watertight design and create more problems down the line.
Once you have regrouted your tiles, it presents a wonderful opportunity to upgrade your bathroom floor to make the space truly your own. The options are endless, from sleek vinyl for easy maintenance, elegant ceramics or slip-resistant tiles for a more accessible and mobility-friendly bathroom. For inspiration and design ideas to help you transform your bathroom floor, check out our blog, 9 small bathroom flooring ideas to help create a space you’ll love. This blog includes clever options tailored for smaller spaces or mobility-adapted spaces and will help you to balance aesthetics with accessibility.
Using Chemical Grout Removers
For stubborn or hardened grout, chemical removers and softeners can help with the grout removal process. These chemical grout removers are very useful in intricate areas where tools can’t reach, but they should be handled carefully.
For health and safety reasons, always read the instructions of the product before use, make sure the room is well ventilated and avoid spilling your solution on silicone or surrounding areas.
Clean-Up and Prep Before Regrouting
Once you have removed the old or damaged grout, there is some preparation that needs to happen before you start applying the new grout.
- Vacuum all joints to remove dust and fragments.
- Wipe the tiles with a damp cloth to lift any residue.
- If your tiles are cracked, you will need to repair or replace them.
This cleaning and preparation step is vital to ensure your new grout bonds properly and lasts longer.
When to Call a Professional
While the grout in many bathrooms and wetrooms can be removed using DIY methods, there are times when it could be worth getting expert help. If you are dealing with a large area, natural stone tiles, or there are signs of water damage under the tiles, then calling a professional is your best bet.
Professional tilers and grouters have years of experience and can complete the work faster. They also have the knowledge and abilities to check the underlying waterproofing, a critical element in bathrooms and wetrooms, with accessibility and mobility purposes in mind.
At the end of the day, removing grout isn’t just about the aesthetics of your bathroom. It is about protecting your tiles, keeping your floors slip-free and more accessible and avoiding water damage in the future. Grouting can keep your bathroom more hygienic and mould-free, especially in mobility-friendly bathrooms where moisture is constant and safety is extremely important. With the right tools, you can remove old grout and ensure your bathroom is functional and safe for years to come.